Quick Start. Only practice. Step-by-step guide. How to download, configure and run Che Browser as quickly as possible in 2025.
Before you start using Che Browser, we strongly recommend read our detailed documentation. However, we have written this step-by-step guide for a quick start with a minimum of settings that are appropriate for the most web sites. This step-by-step guide is for those who want to get started as quickly as possible. If you need to use advanced settings, then you should read the detailed documentation. You can get started quickly after reading this short step-by-step guide and come back to read the documentation later. So let's get started.
Table of contents
Step 1. Go to the "Download" section on website
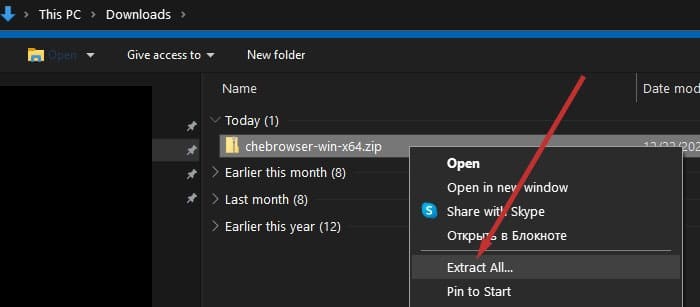
Step 3. Extract "chebrowser-win-x64.zip"
Step 4. Run the application Che Browser
Step 5. Create an account in the Che Browser application
Step 7. Purchase a subscription
Step 10. Configure the browser profile
Step 11. Run the configured profile and start to work
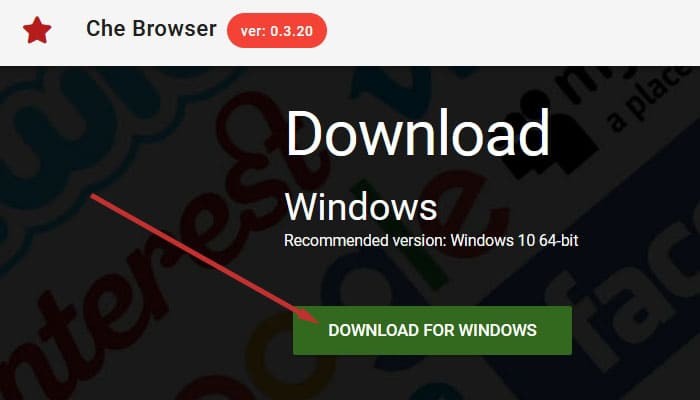
Step 1. Go to chebrowser.site. Then click on the "Download" menu item.

The browser will scroll you to the "Download" section.
Step 2. Download Che Browser to any folder on your computer. To do this, click the "DOWNLOAD FOR WINDOWS" button. After that the file "chebrowser-win-x64.zip" will be downloaded.
The "chebrowser-win-x64" folder will appear
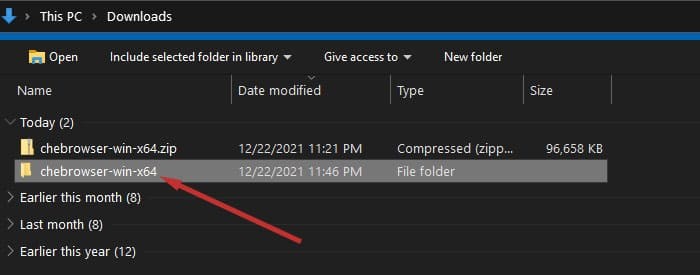
Go to the unpacked "chebrowser-win-x64" folder. Inside this folder will be a folder with the same name: "chebrowser-win-x64".

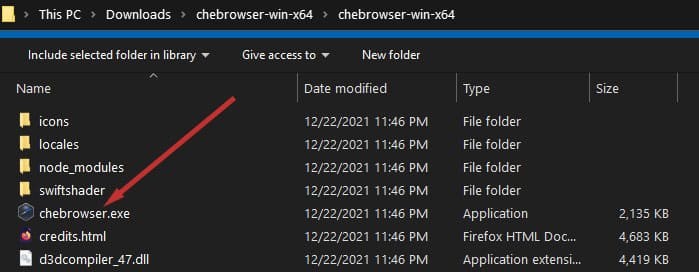
Go to the "chebrowser-win-x64" folder, which is located in the folder with the same name: "chebrowser-win-x64". You will see a list of files and folders. Find the file "chebrowser.exe" and run it (click twice with the left mouse button).
Step 5. Create an account (registration) in the Che Browser application
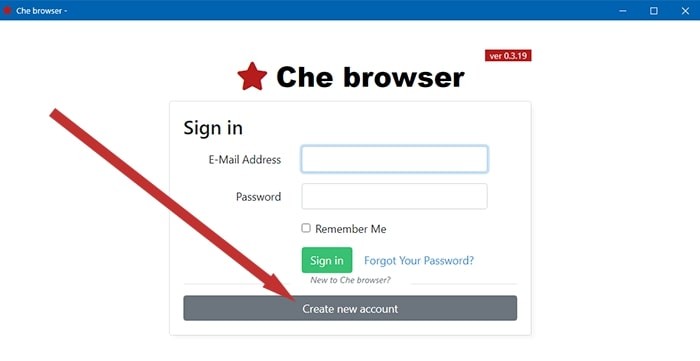
Please note - there is no registration on the website! You must register in the application after you launch it.
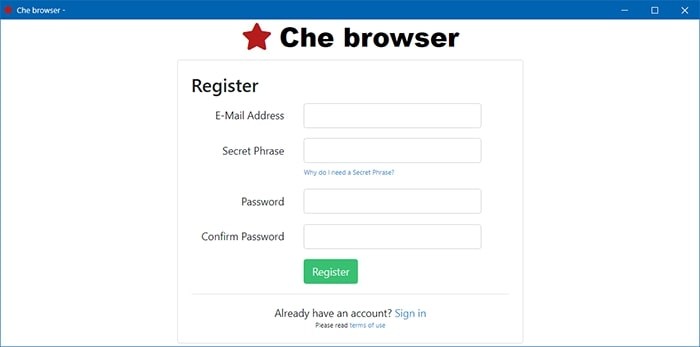
To register, enter a real email (may be required if you lose access to your account), a secret phrase (may be required to reset the password or for moneyback), password, password confirmation (field "Confirm Password") After clicking on "Register" button you will be registered (nothing will come to the mail, you do not need to confirm anything additionally).
Top up your balance using BTC/LTC/BCH/DOGE/DASH in "Payments" section. Follow the steps below:
- Go to "Payments" section
- Click the green button "ADD MONEY TO BALANCE" in the upper right corner
- You will see a pop-up window. Then do the following steps:
1) select cryptocurrency ("Cryptocurrency" field)
2) enter the amount of money to be deposited (the "~Amount USD" field)
3) click on "CREATE INVOICE" button
- Another pop-up window will appear with the payment address and amount
- Transfer the required amount of money to the payment address from your crypto-wallet
- Click on the "I PAID" button after you transfer the money. After 3 (three) network confirmations the money will appear on your balance. After that you will be able to purchase subscriptions and profiles.
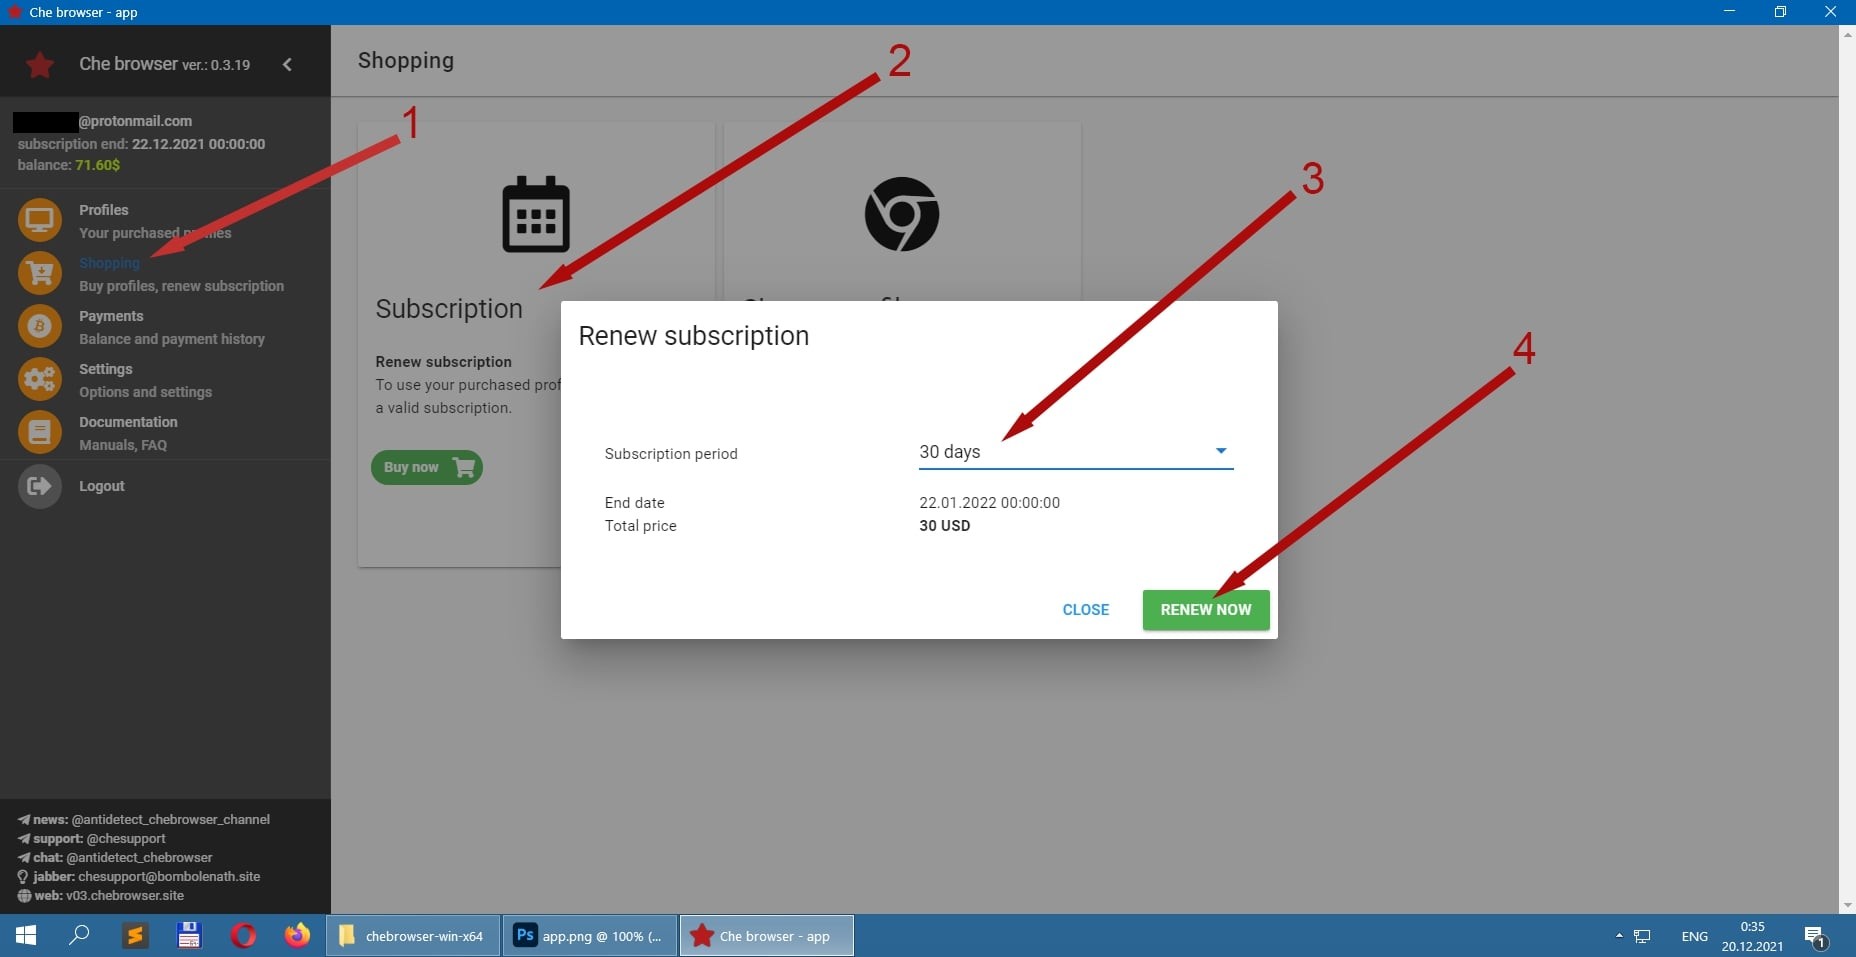
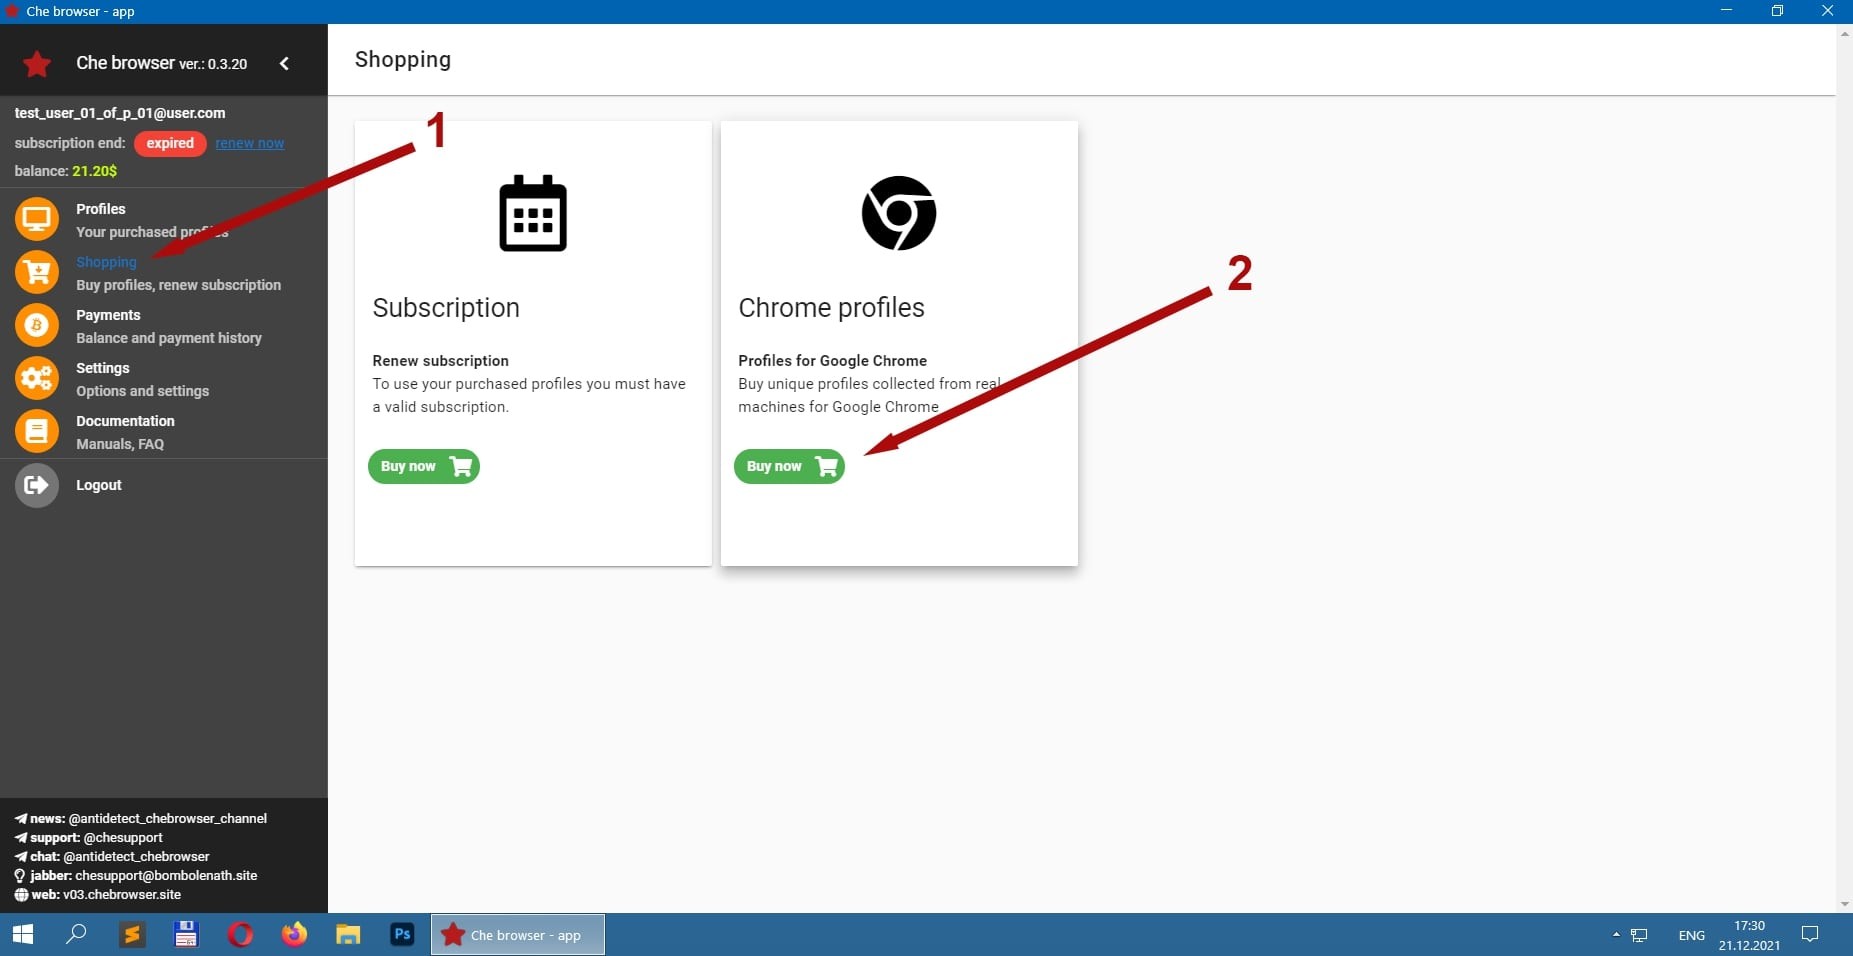
- Click on "Shopping" in the left menu.
- Click on the "Subscription" tile. The "Renew subscription" pop-up window will appear.
- Choose a subscription period.
- Click on the "RENEW NOW" button.
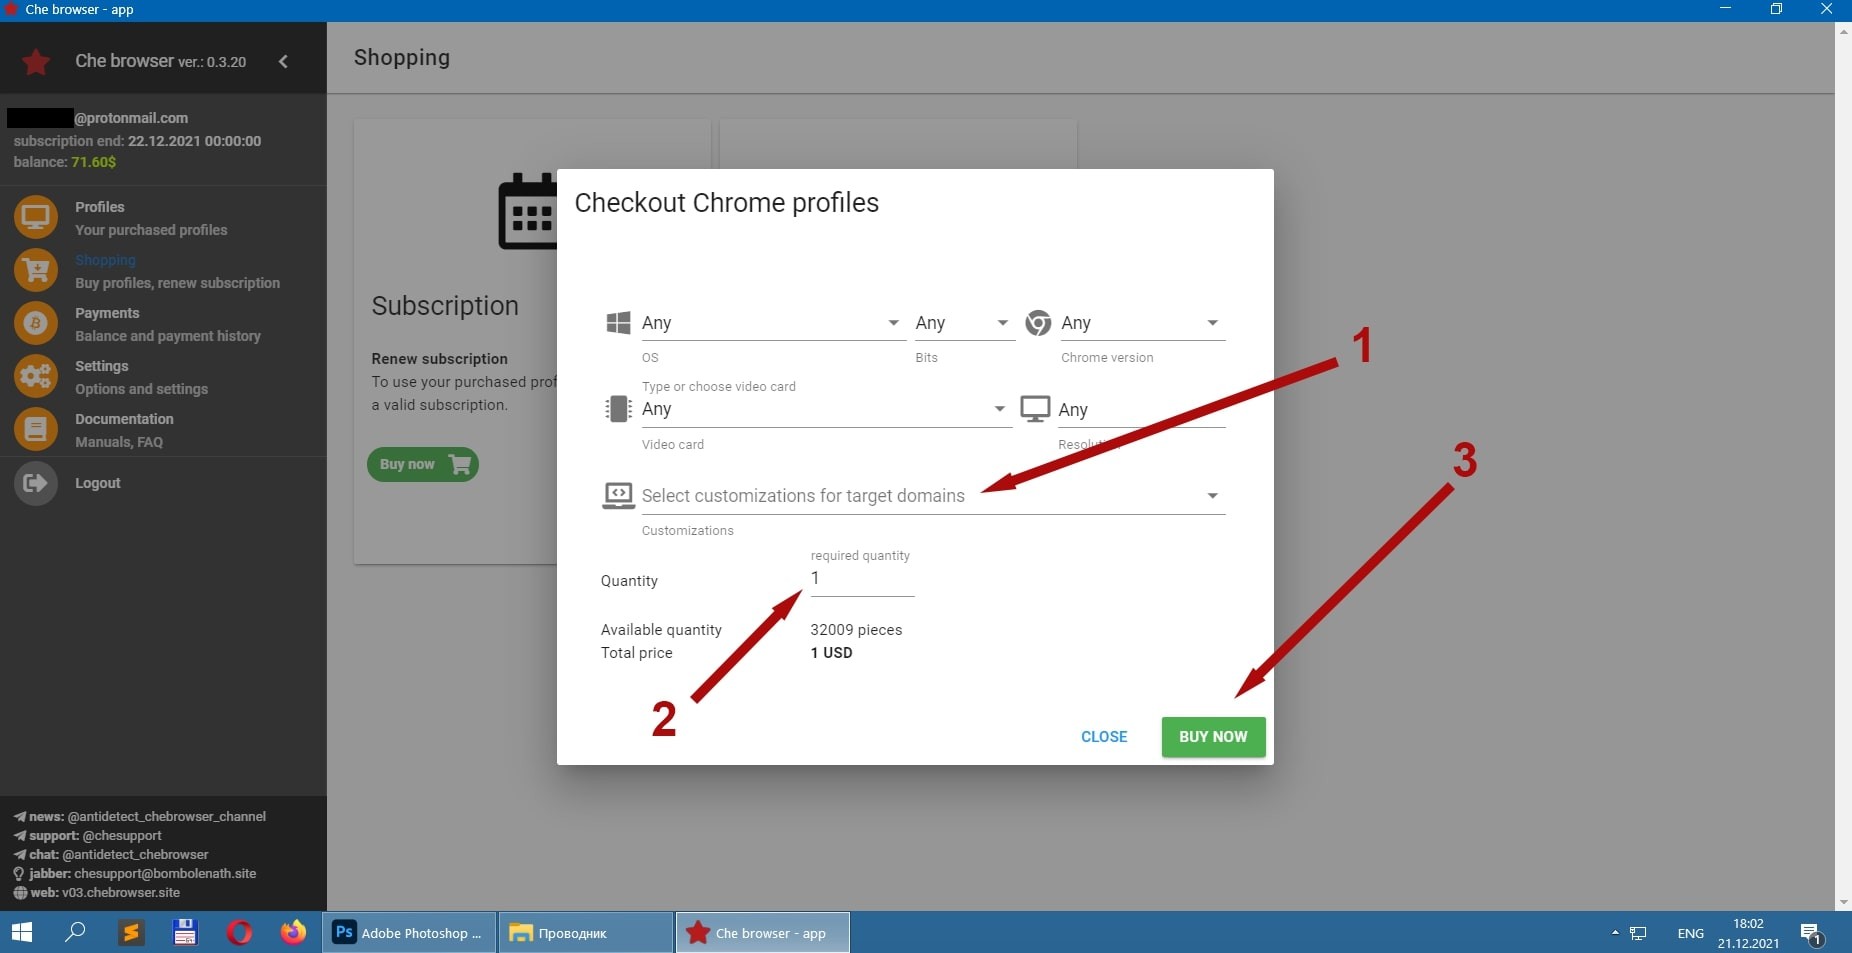
After that, the "Checkout Chrome profiles" pop-up window will appear. Then you must do the following:
1. Click on "Select customization for target domains". You will see a list of domains (websites) for which customizations have been made. If the target website is in this drop-down list, then select it.
2. Specify the desired number of profiles in the "Quantity" field.
3. Click on "BUY NOW" button.
If necessary, you can choose other parameters before buying the profile (fields "OS", "Bits", "Chrome version", "Video card", "Resolution").
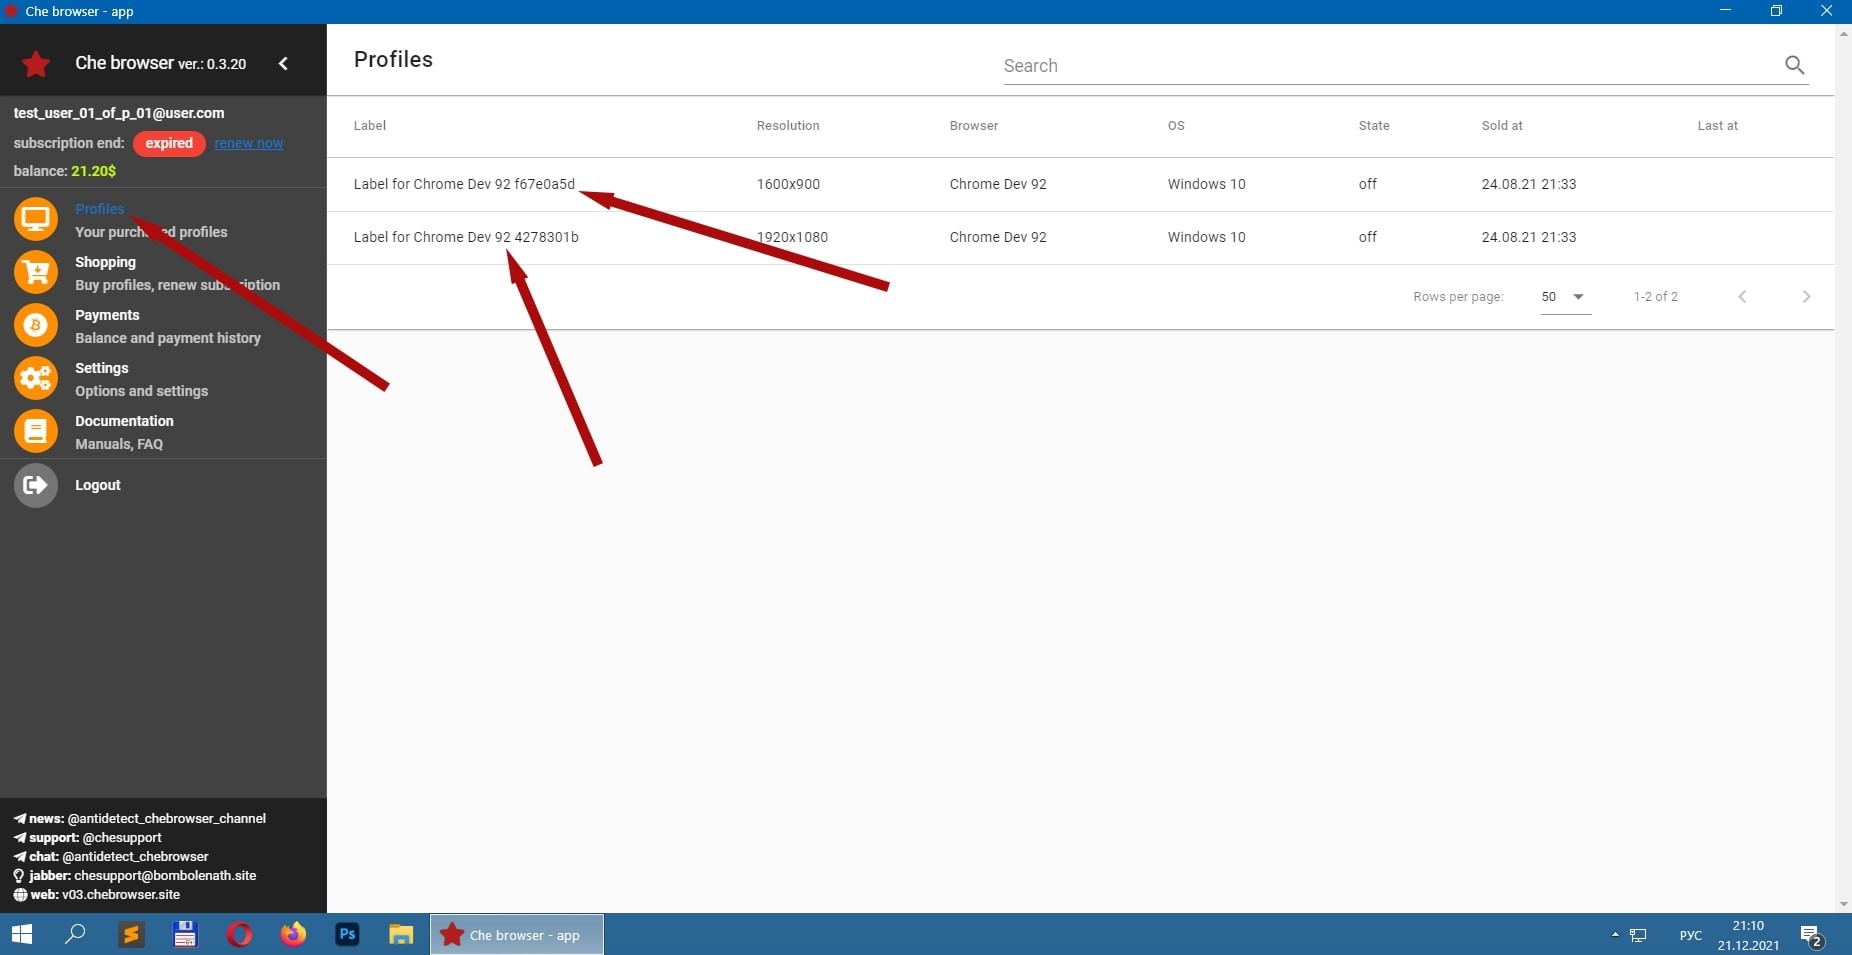
Then click on "Profiles" in the left menu. The purchased profile will be added to the existing list of profiles. In the picture below, the user has 2 profiles.
The list of proxy sellers technically compatible with Che Browser:
- NodeMaven
- nSocks
- BigMama Proxy Network
- ProxySeller
- ProxyGuys
- Oksy
- HydraProxy
- ProxyPanel
- LteBoost
- NinjaProxy
- AstroProxy
- Proxys
- LteSocks
- PyProxy
- SuperProxy
- Illusory
- Proxs
- DslRoot
- Froxy
- NetNut
- LteProxy
- OnlineSim
- Proxy Lte
- ASocks
- Proxy Traff
- mobileproxy.space
- Carrierproxy
- ProxySpeedMsk
- ProxyRed
- Local Proxies
- ProxyStore
- Proxy Tales
- V6Proxies
- MobiProxy
- Ip2World
- 922S5 Proxy
- PrivateProxу
- 9Proxy
- Proxymus
- IPFoxy
- Cliproxy
- SX.ORG
- Proxy302
- MarsProxies
- PlainProxies
- Swiftproxy
- Floppydata
You need to find a third-party company that sellers SOCKS5 proxies. The SOCKS5 proxy you bought may look like this: "23.45.105.203:11987:someLogin:somePass", in which:
- 23.45.105.203 is an ip-address of type IPv4
- 11987 is a port
- someLogin is a login
- somePass is a password
If instead of the ip-address your proxy seller gives you alphabetic notation (i.e. the host name, for example, someSubDomain.someHost.com), then you need to use one of the services to determine the ip-address of the host. For example, this one.
Some proxy services give only "ip:port" without username and password. In this case, leave the fields "Login" and "Password" blank and click "CHECK PROXY". If the proxy-service didn't give you username and password, then in some cases, your external public ip-address (you can get it here) must be specified in the personal cabinet of your proxy-service (or proxy-service will do it automatically and you will not have to do anything additionally).
Che Browser only works with SOCKS5 proxies.
Che Browser does not work with proxy protocols other than SOCKS5.
Che Browser works with IPv4 addresses and does not work with IPv6 addresses!
Select the profile you are interested in from the list and click on it. The "Settings" window will open with the settings for the selected profile. Then do the following.
- Set the switch to "Connection: SOCKS5 proxy"
- Enter the IP-address in the "IP" field
- Enter port in the "Port" field
- Enter your login in the "Login" field
- Enter your password in the "Password" field
- Click on the "CHECK PROXY" button.
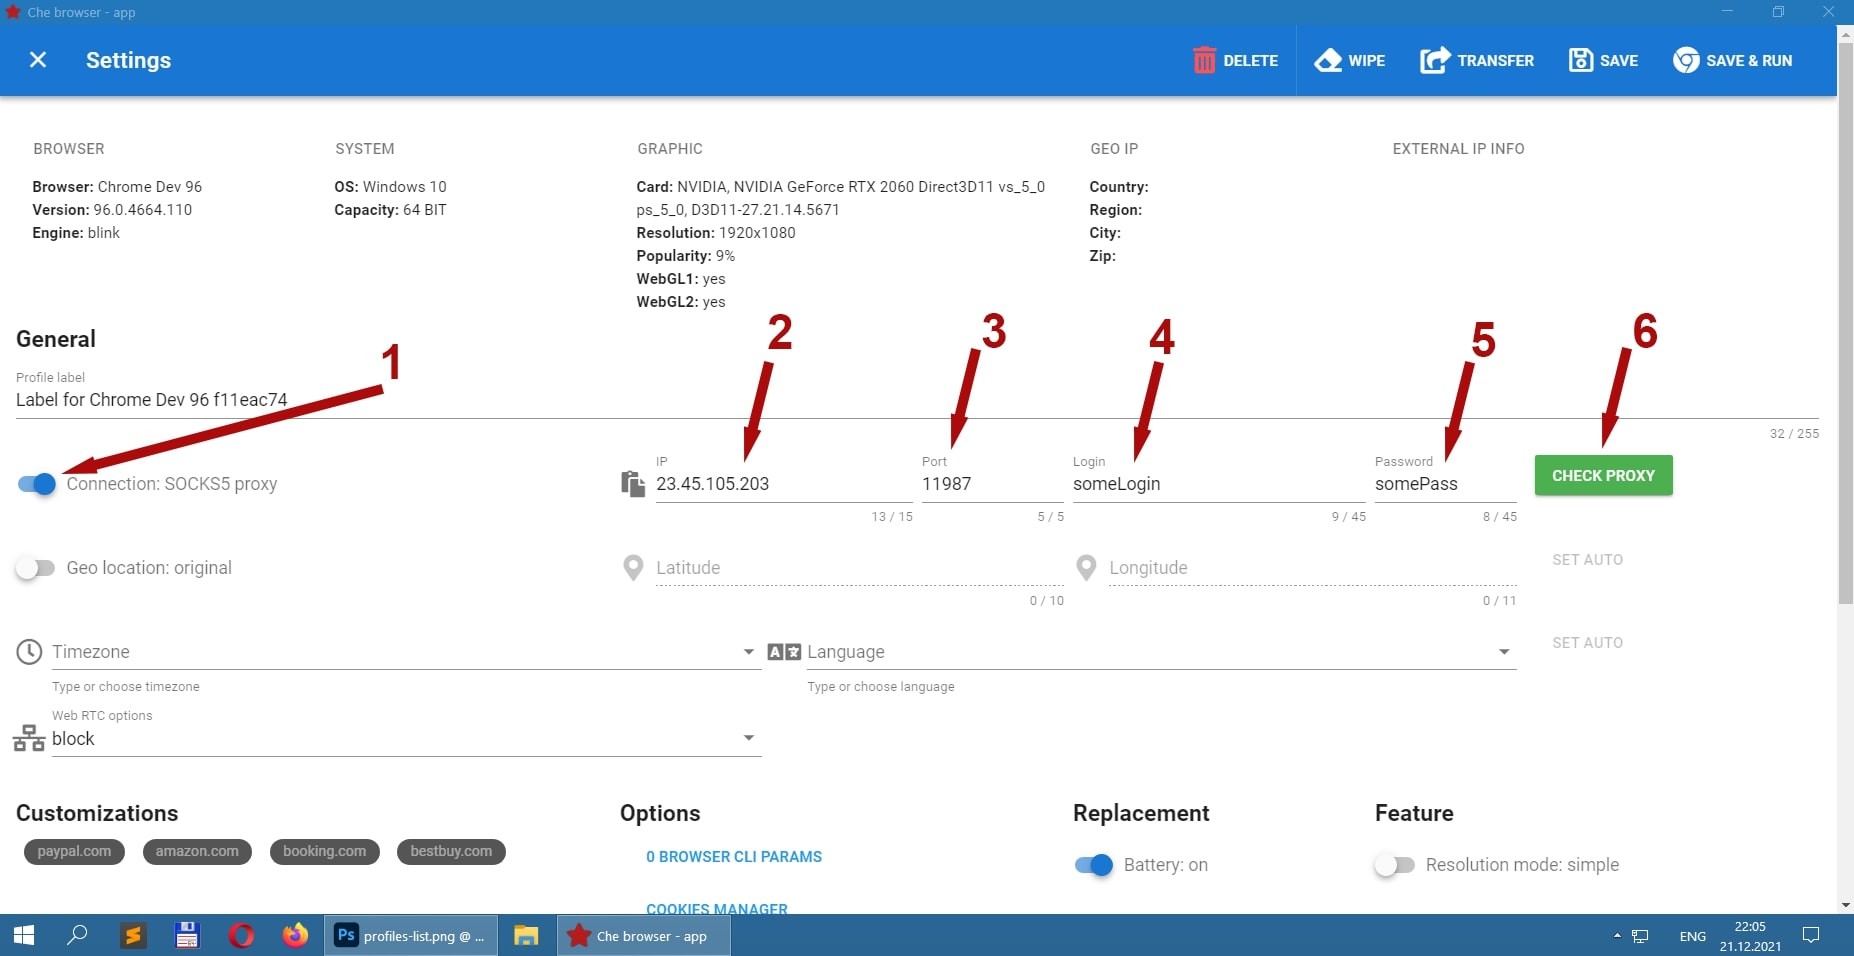
The application will then perform a SOCKS5 proxy check. The following will happen.
- The external IP address is determined and appears in the "External IP INFO" field.
- The values "Country", "Region", "City", "Zip" will be determined by the external IP address and will be displayed in the block "GEO IP".
- The "SET AUTO" button related to the fields "Language" and "Timezone" will become active.

Then click on the "SET AUTO" button. This will set the "Timezone" field and "Language" field according to the external IP address.

In practice, the average user very rarely changes these data. Usually it happens as follows. Before the very first start of the profile, the user clicks the "SET AUTO" button. After this, the "Timezone" and "Language" are set automatically and are not subsequently changed (i.e. the "SET AUTO" button does not need to be pressed for subsequent profile starts). For more information on setting the "Timezone" and "Language", please refer to the documentation in the corresponding section.
Step 11. Run the configured profile. Click on "SAVE & RUN" button.
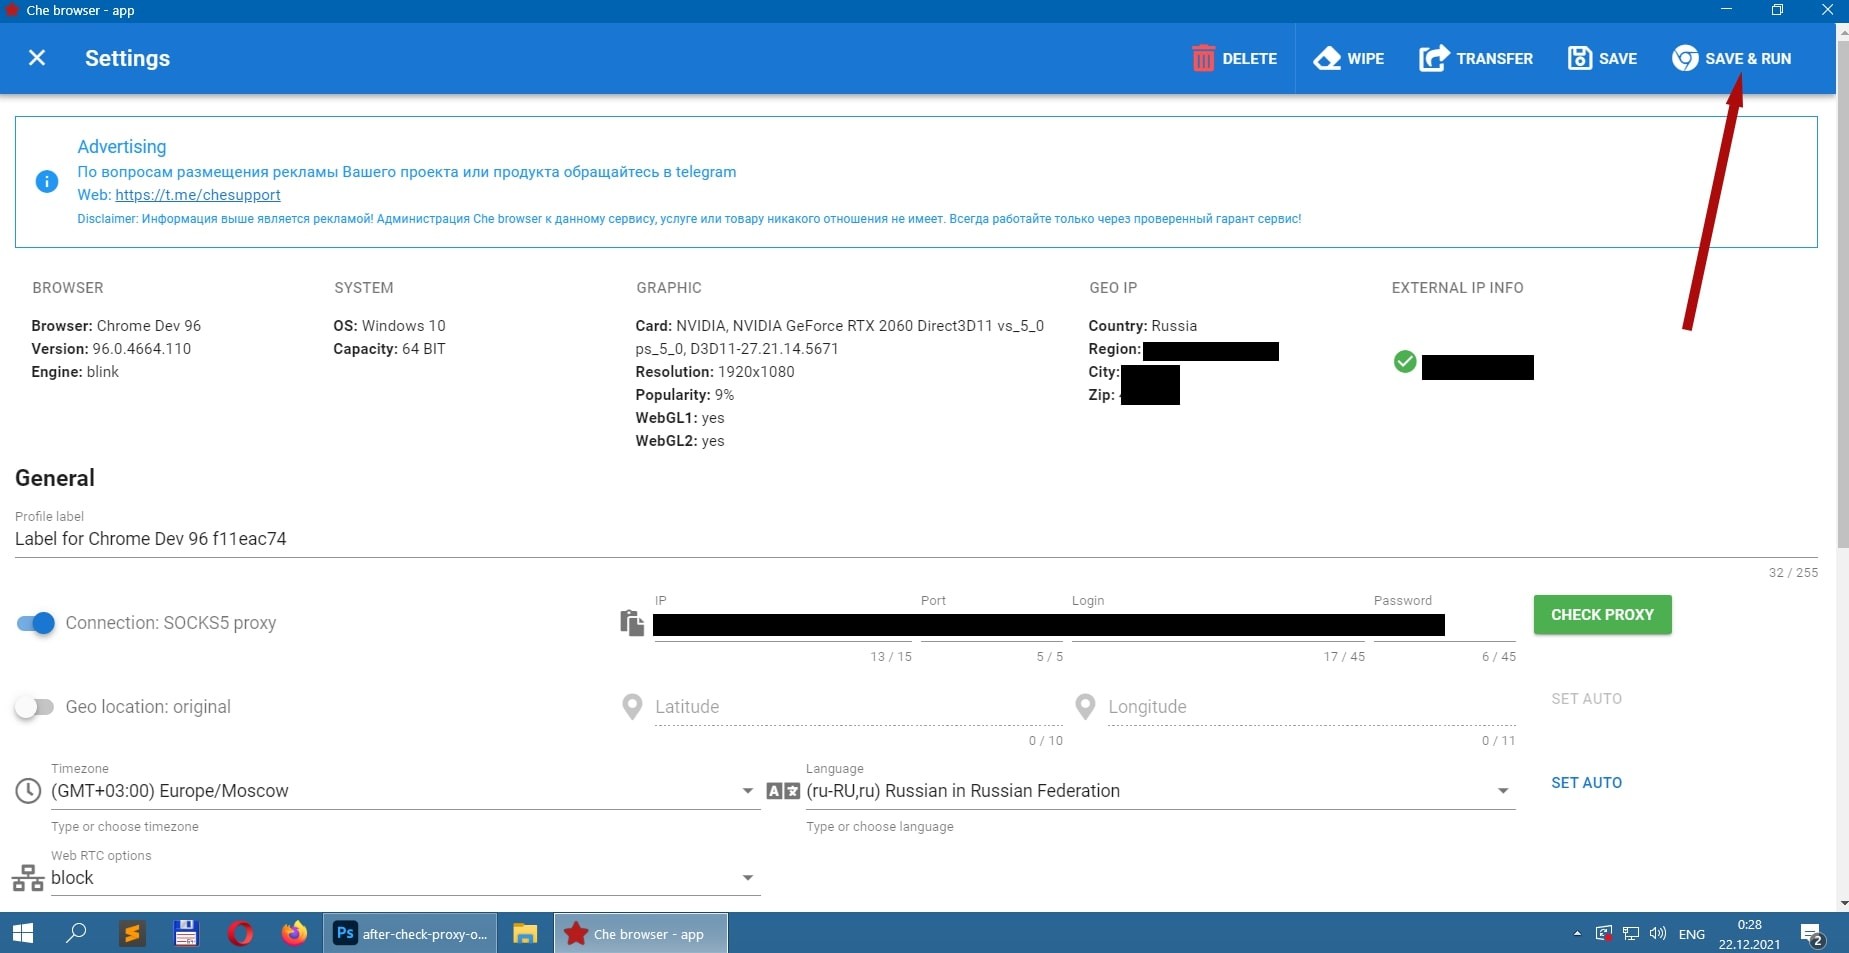
After that, the profile settings will be saved and the browser will start with these settings. Congratulations! You're ready to go!

Table of contents
Step 1. Go to the "Download" section on website
Step 3. Extract "chebrowser-win-x64.zip"
Step 4. Run the application Che Browser
Step 5. Create an account in the Che Browser application
Step 7. Purchase a subscription
Step 10. Configure the browser profile